

Authentication is one of the most critical parts of any application. Get it wrong, and you risk exposing user data. Get it right, and users feel safe and trust your product. Appwrite provides a full suite of backend services including auth, databases, storage, functions, messaging, and more… But authentication is where many projects have unique and sensitive requirements.
While Appwrite supports email/password sign-in, passwordless magic links, phone OTPs, and over 30 OAuth2 providers out of the box, some projects demand even more control. That’s where the universal OIDC adapter comes in. If your identity provider speaks OpenID Connect, Appwrite can connect to it, no matter who built it or where it runs.
Today, we’ll integrate Appwrite with Pocket ID, a lightweight, self-hosted authentication server built around passkeys. Passkeys replace traditional passwords with cryptographic credentials tied to your device (a fingerprint, face ID, or hardware key). They’re phishing-resistant, simpler to use, and increasingly considered the gold standard for modern authentication. Pocket ID (GitHub) makes it trivially easy to run your own passkey auth server and expose it as an OIDC provider, which means Appwrite can use it as a first-class login option.
By the end of this tutorial, you’ll have:
- A self-hosted Pocket ID instance running on Railway
- Appwrite connected to it via the OIDC adapter
- A small Astro web app where users can sign in with a passkey
Prepare your Appwrite project
Head to Appwrite Cloud and sign in (or create a free account if you haven’t already). Create a new project, or open an existing one.
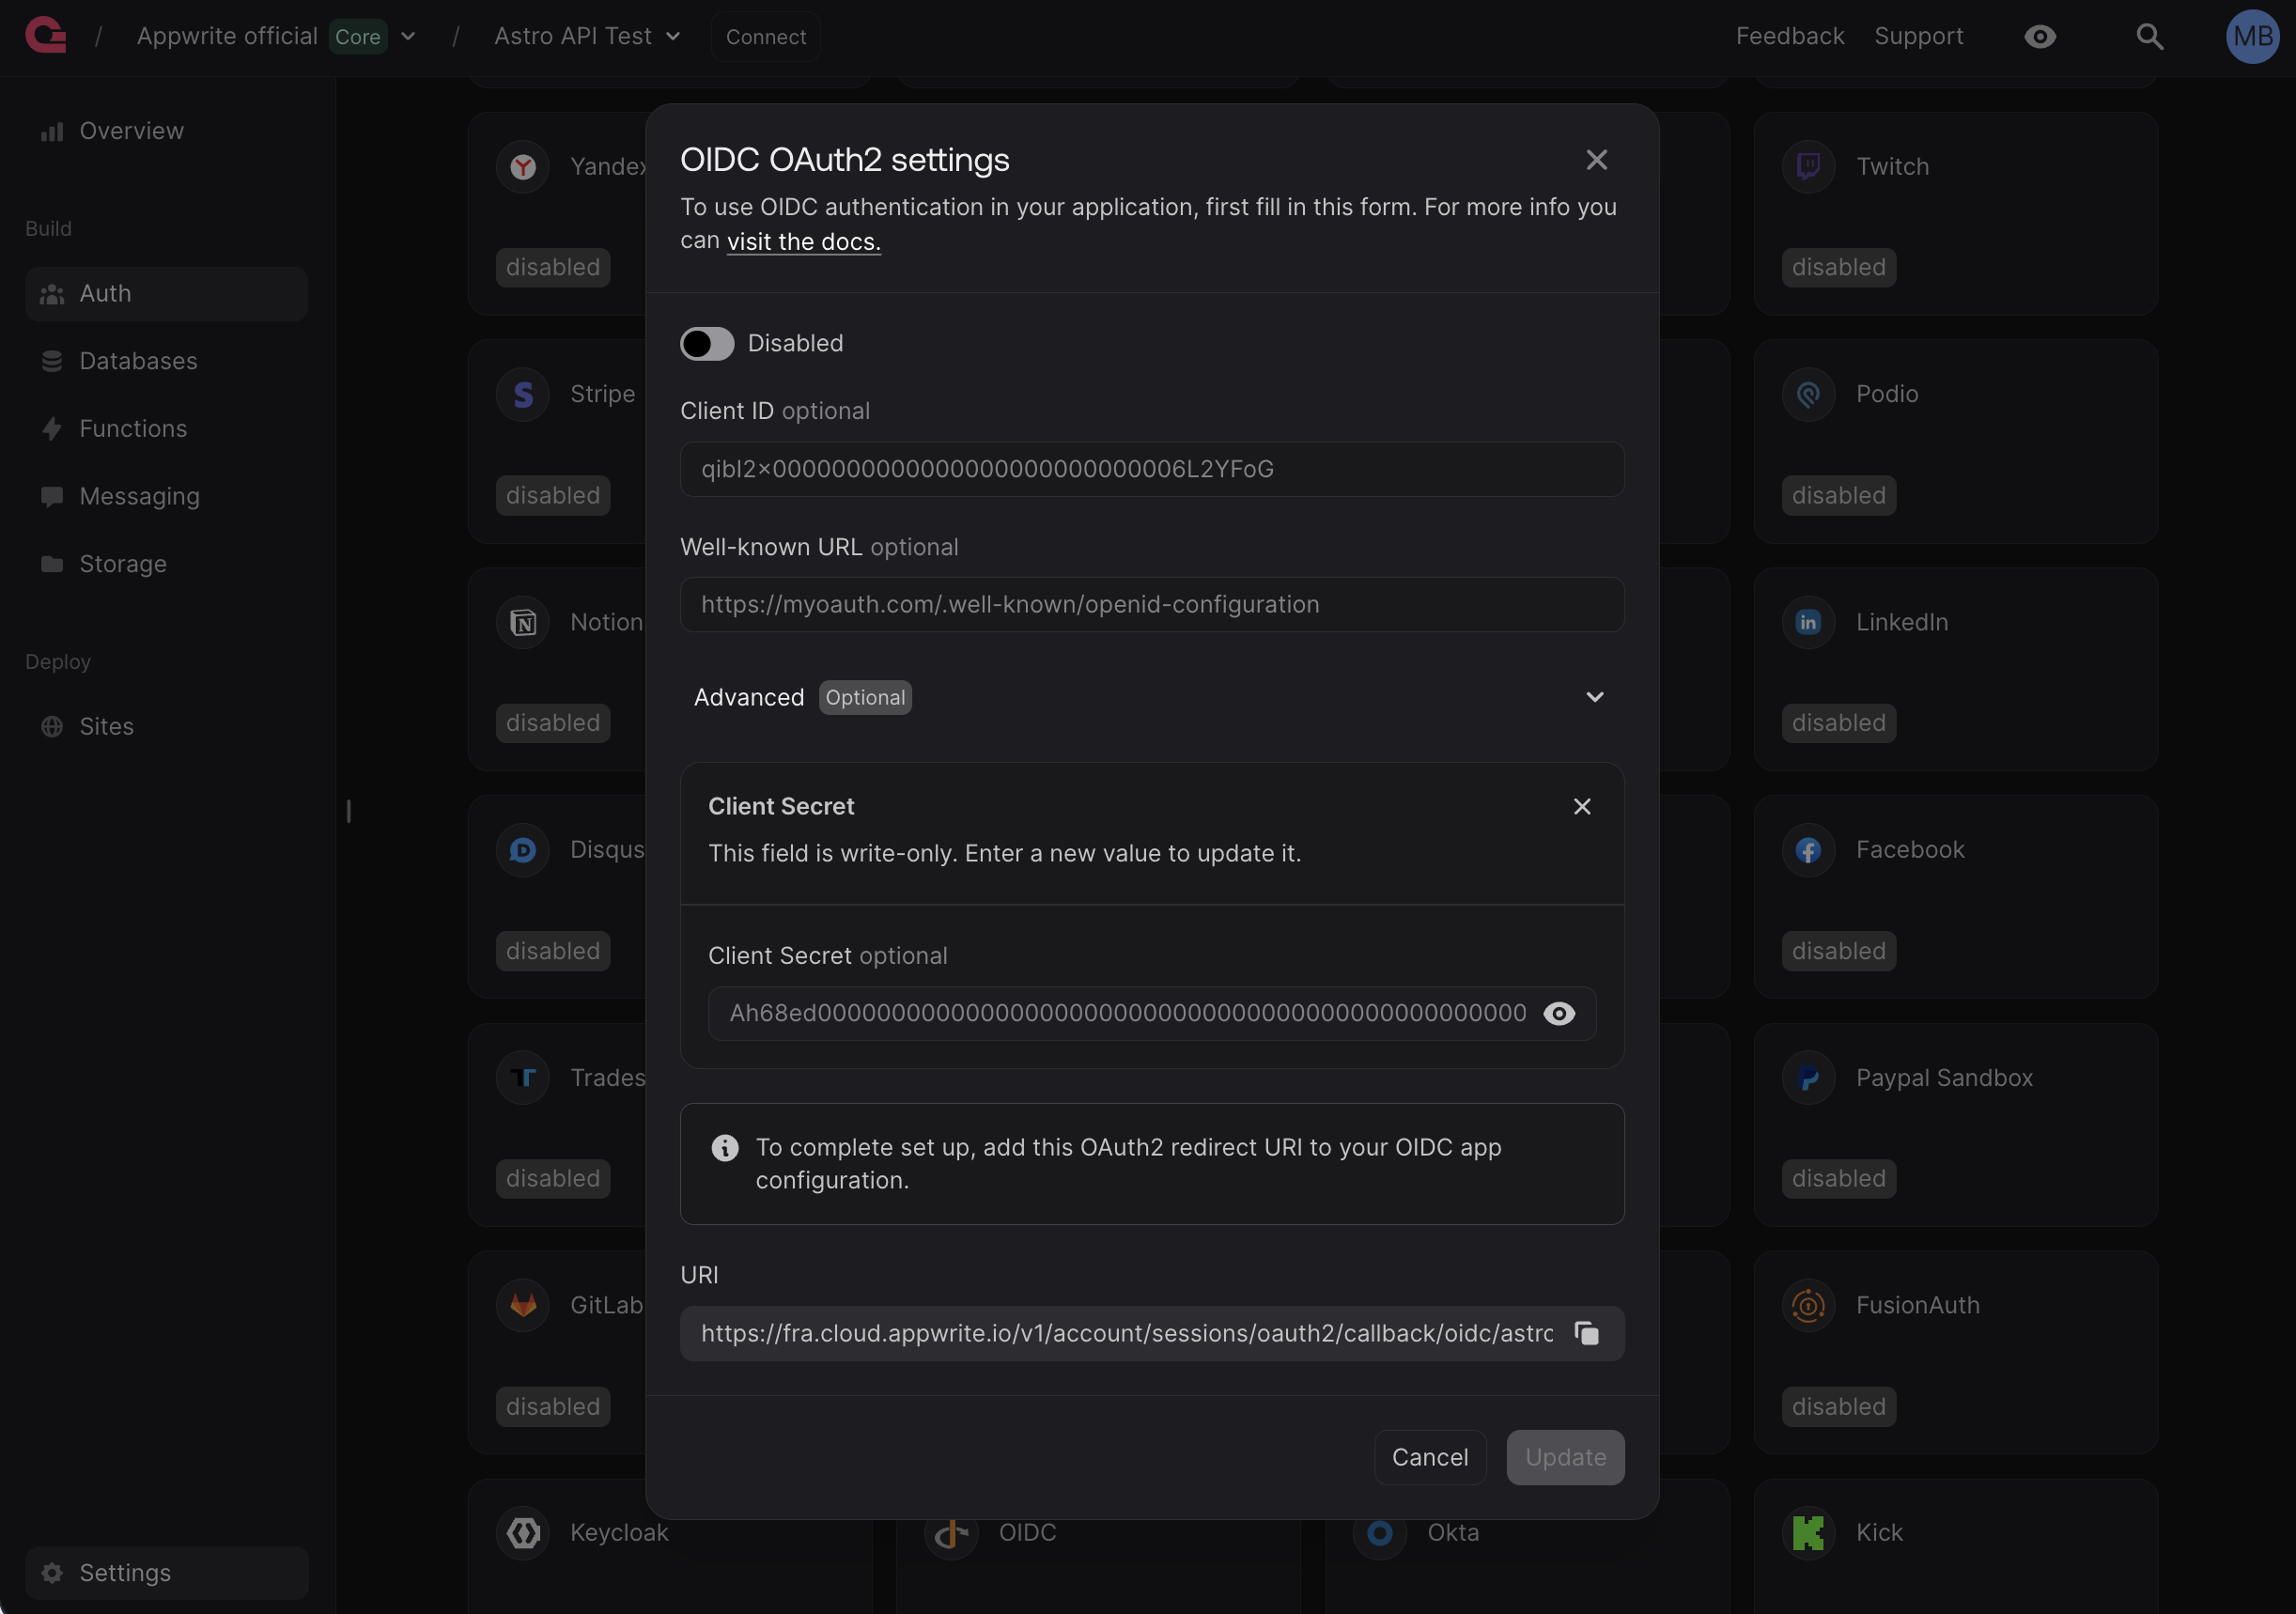
In the left sidebar, click Auth, then switch to the Settings tab. Scroll down to the OAuth2 providers list and click OIDC to open the configuration modal.
Leave this modal open because you’ll need to paste a few values into it shortly. But first, copy the Redirect URI shown at the bottom of the modal. You’ll need it when registering your app inside Pocket ID.
Set up Pocket ID
Pocket ID supports several installation methods, including Docker Compose and bare-metal setups. For this tutorial, we’ll take the fastest route: a one-click Railway template.
We prepared a simple Railway template to get you started quickly. Alternatively, follow the official Pocket ID installation docs for other deployment options.
Deploy Pocket ID on Railway
- Sign up for a free account at Railway.
- Click Deploy on Railway to open the Pocket ID template.
- Click Configure and enter a random value for
ENCRYPTION_KEY. You can generate one by running the following command in your terminal:
openssl rand -hex 16
Note: ENCRYPTION_KEY must be at least 16 bytes (32 hex characters) long.
- Click Save Config, then Deploy.
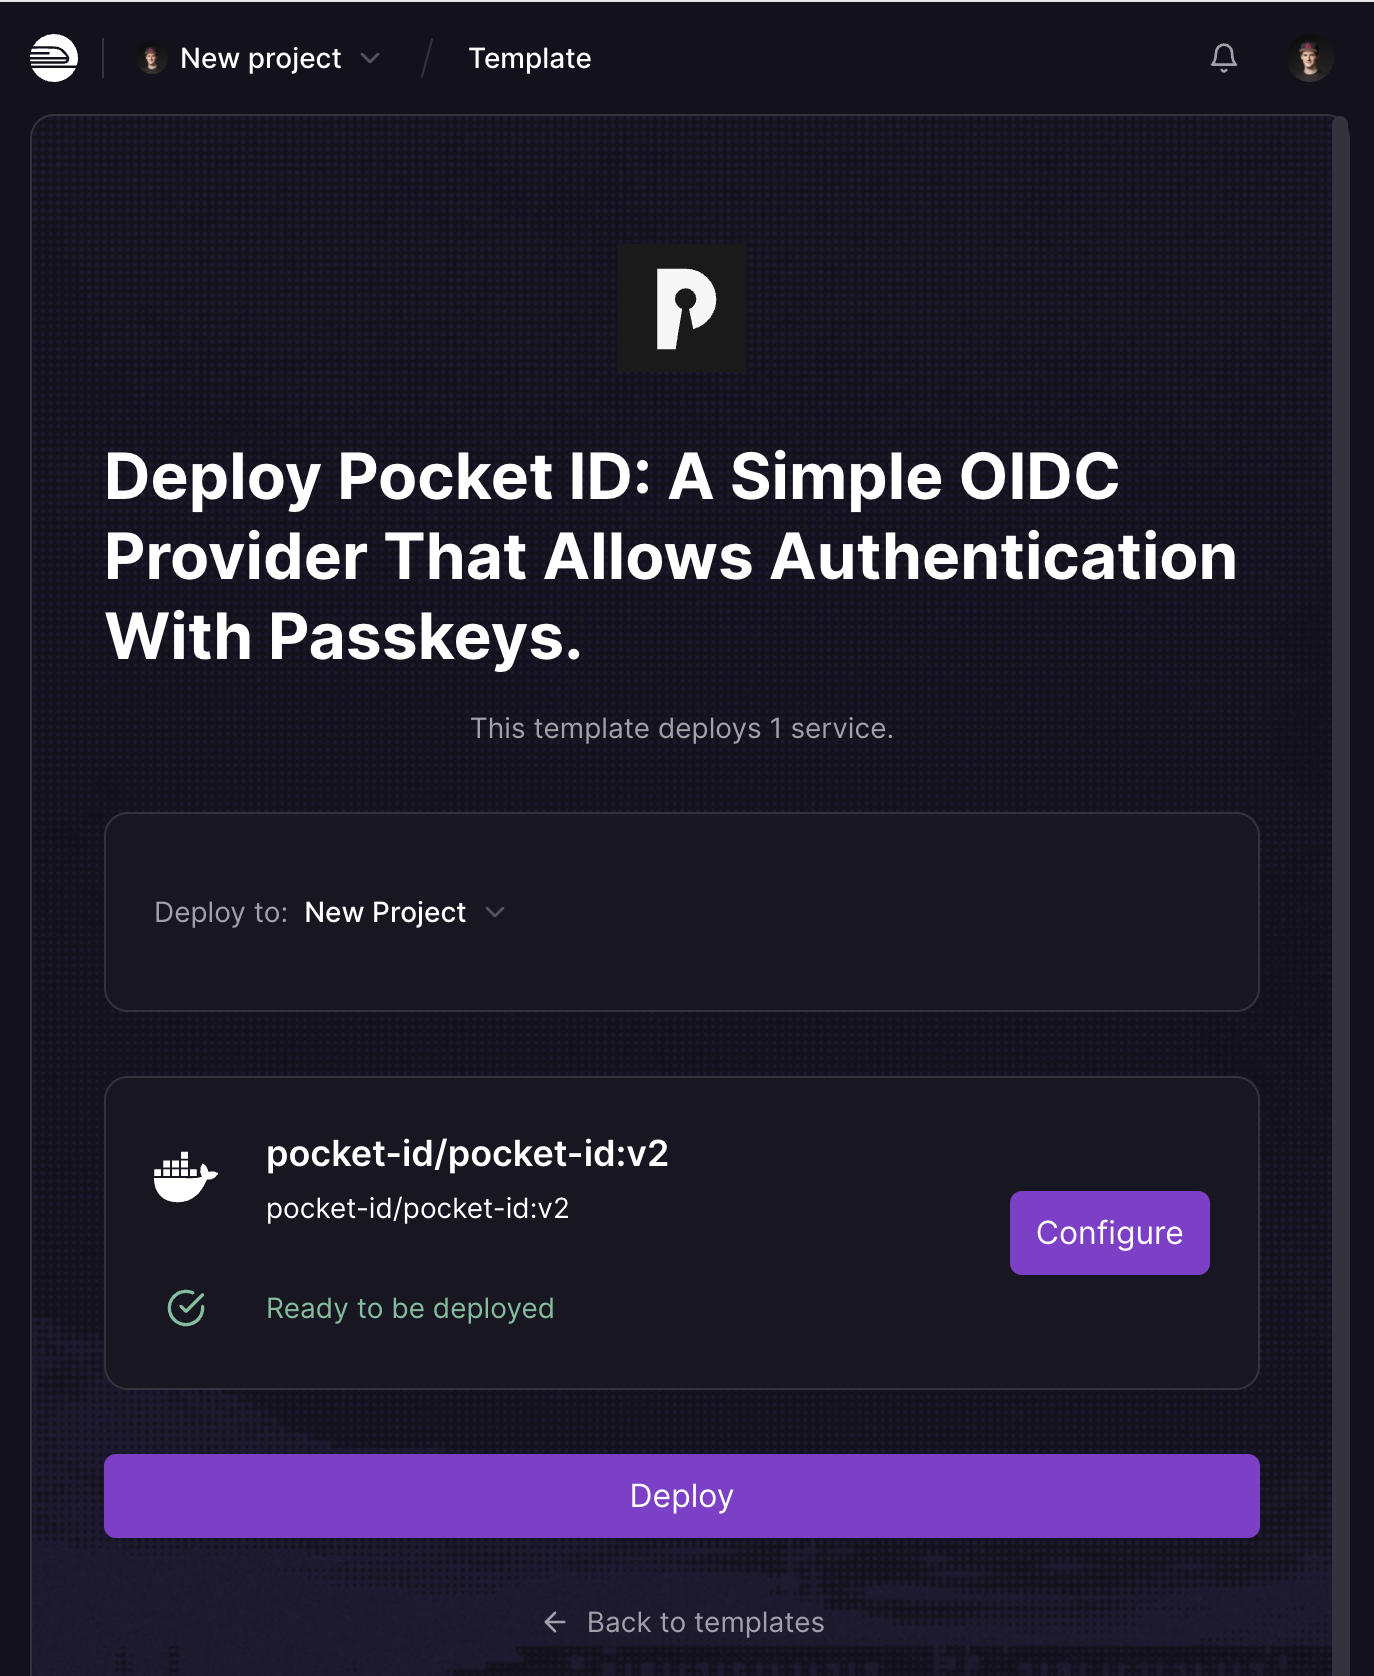
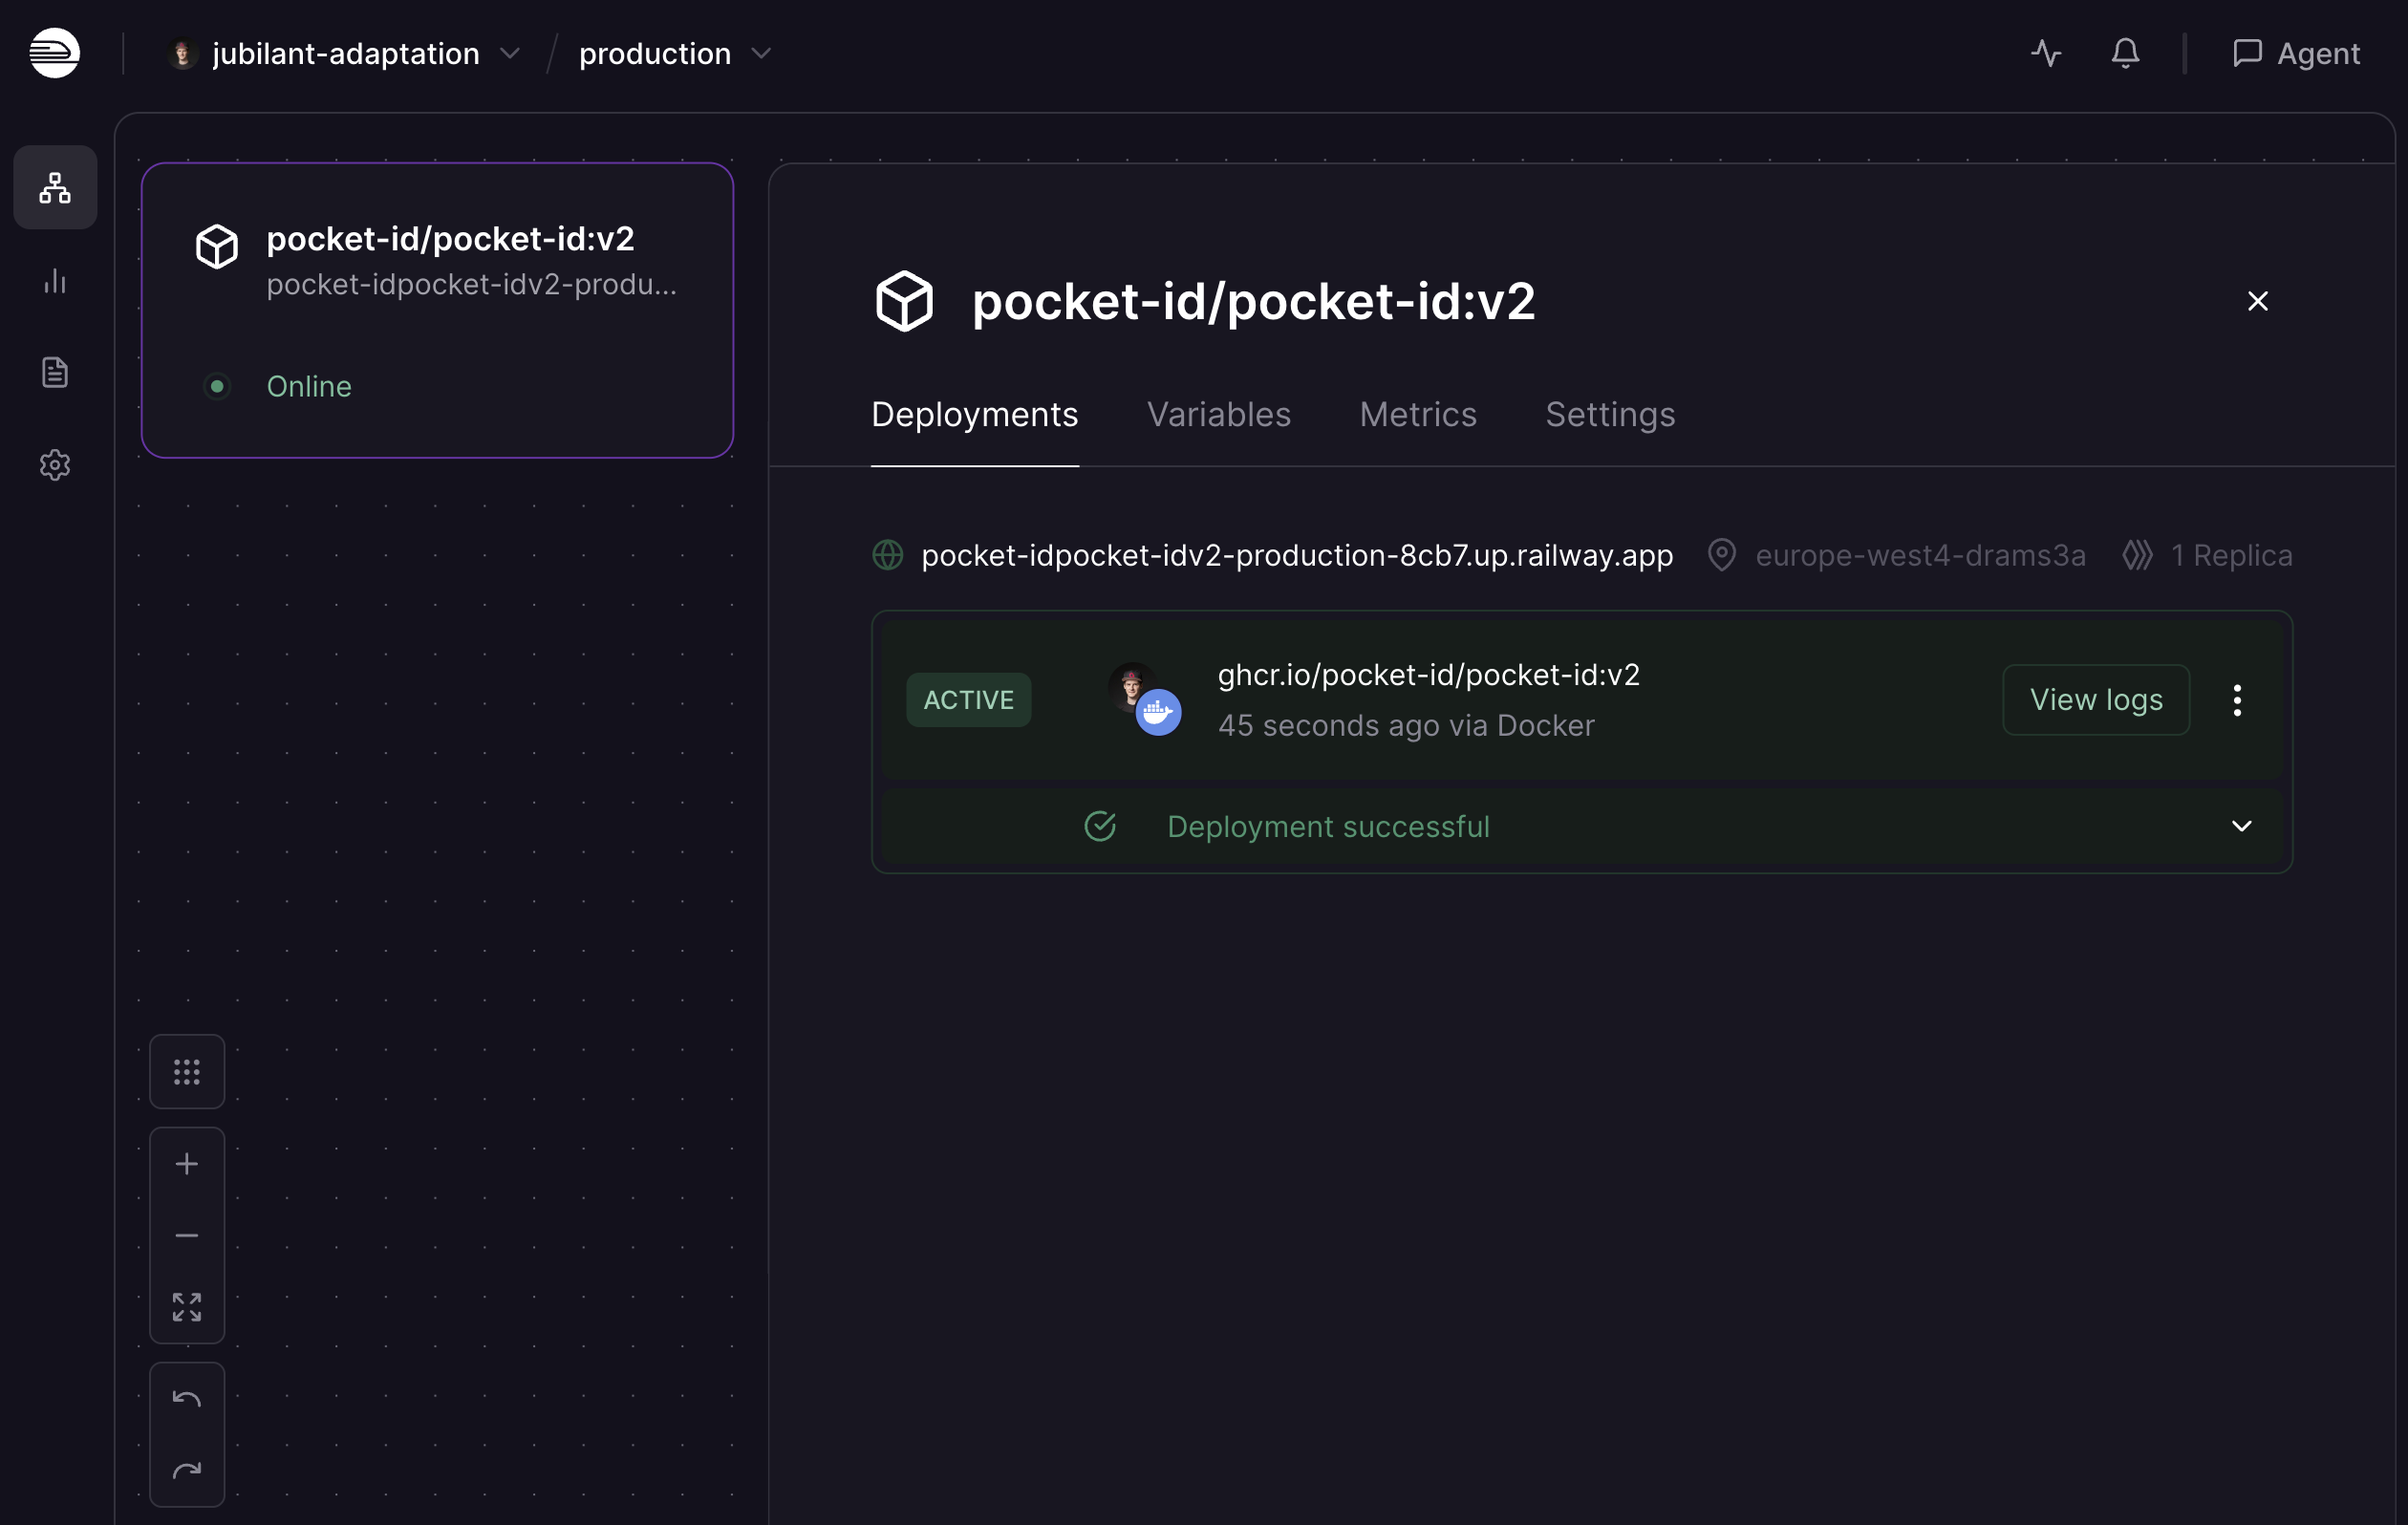
Now we sit back, relax, and wait for the deployment to finish (it should turn green and show an Active status), then open the URL assigned by Railway looking something like https://pocket-id-production-4c96.up.railway.app/.
Configure Pocket ID as an OIDC provider
With Pocket ID running, complete the one-time admin setup:
- Visit your Pocket ID URL and navigate to
/setup(e.g.,https://pocket-id-production-4c96.up.railway.app/setup). - Register your admin account by entering a username and email.
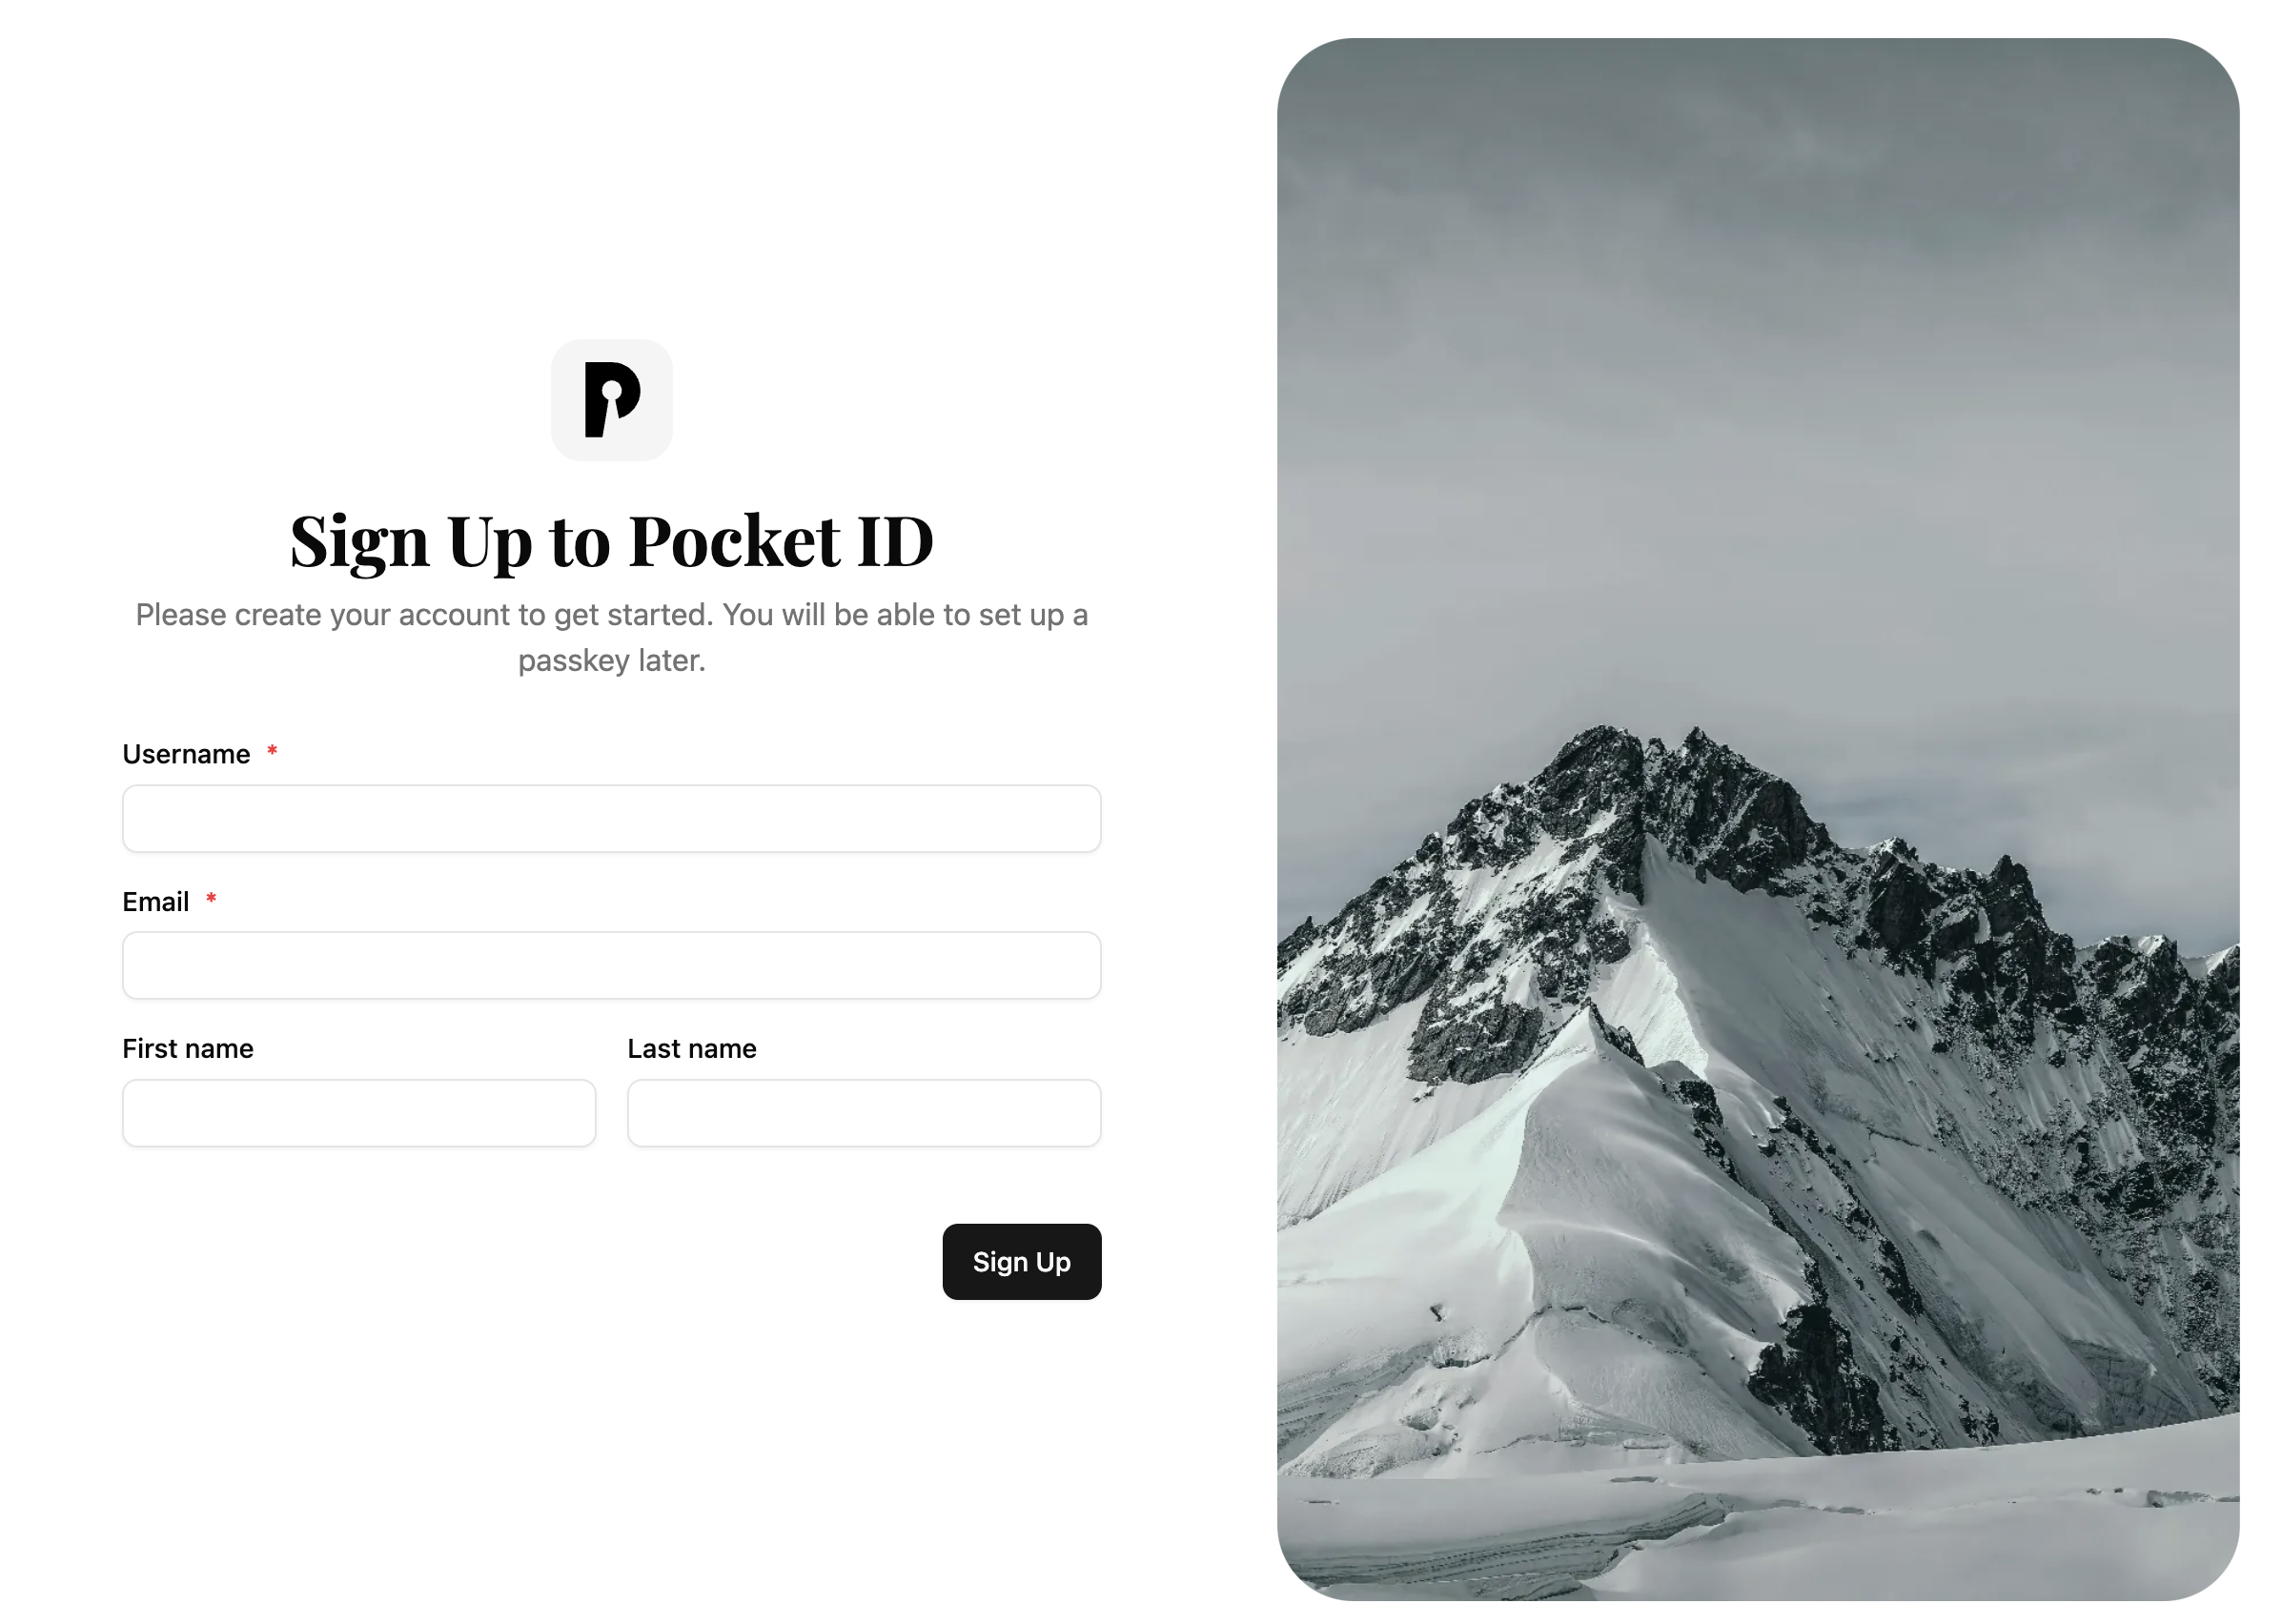
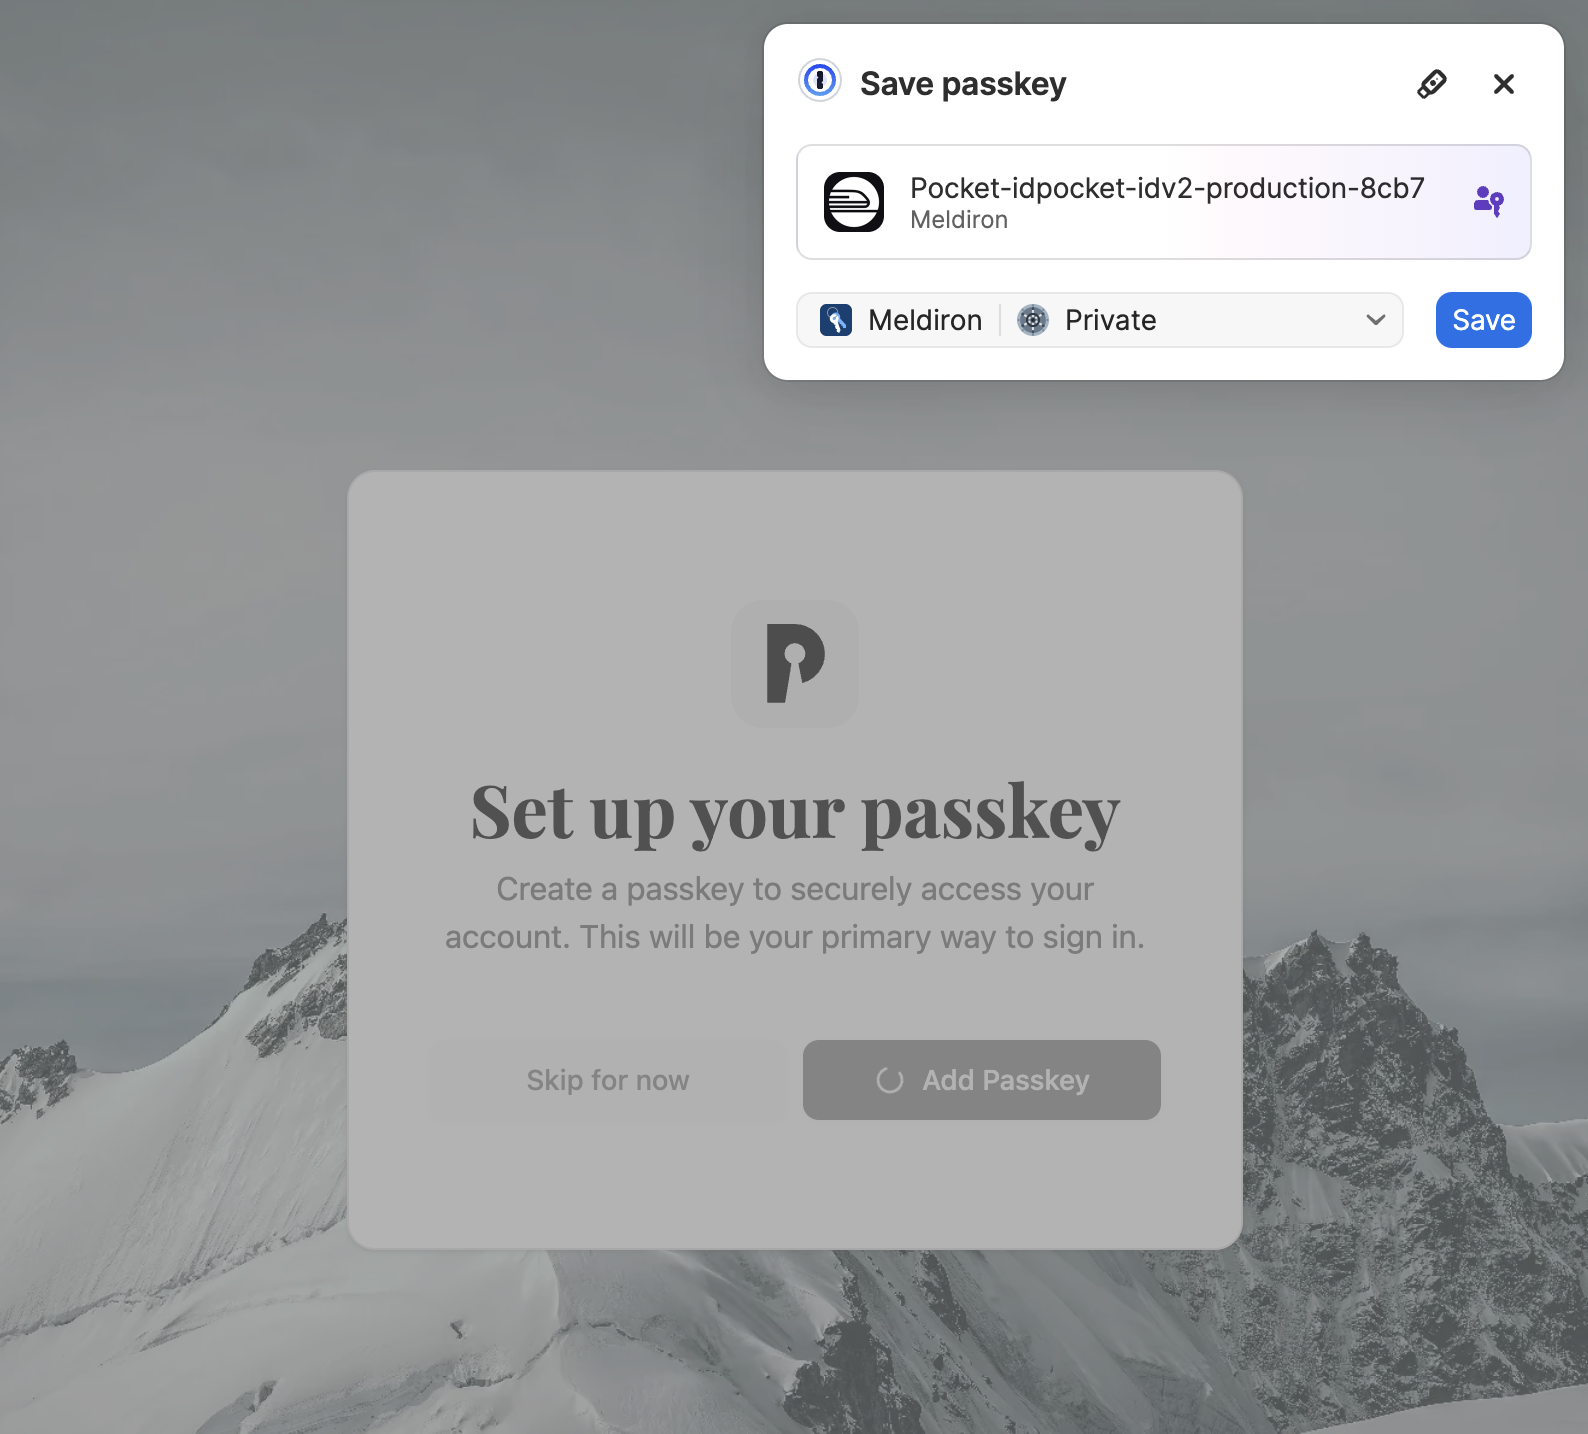
- Add a passkey to your admin account immediately. This is how you’ll log back in. Follow the browser prompt to register your device’s biometric or hardware key.
- In the side menu, under the Administration section, click OIDC Clients.
- Click Add OIDC Client and fill in the form:
- Name: Use the same name as your Appwrite project for clarity.
- Callback URLs: Paste the Redirect URI you copied from the Appwrite OIDC modal.
- Leave the remaining fields at their defaults, or customize the logo, theme, and re-authentication behavior as you like.
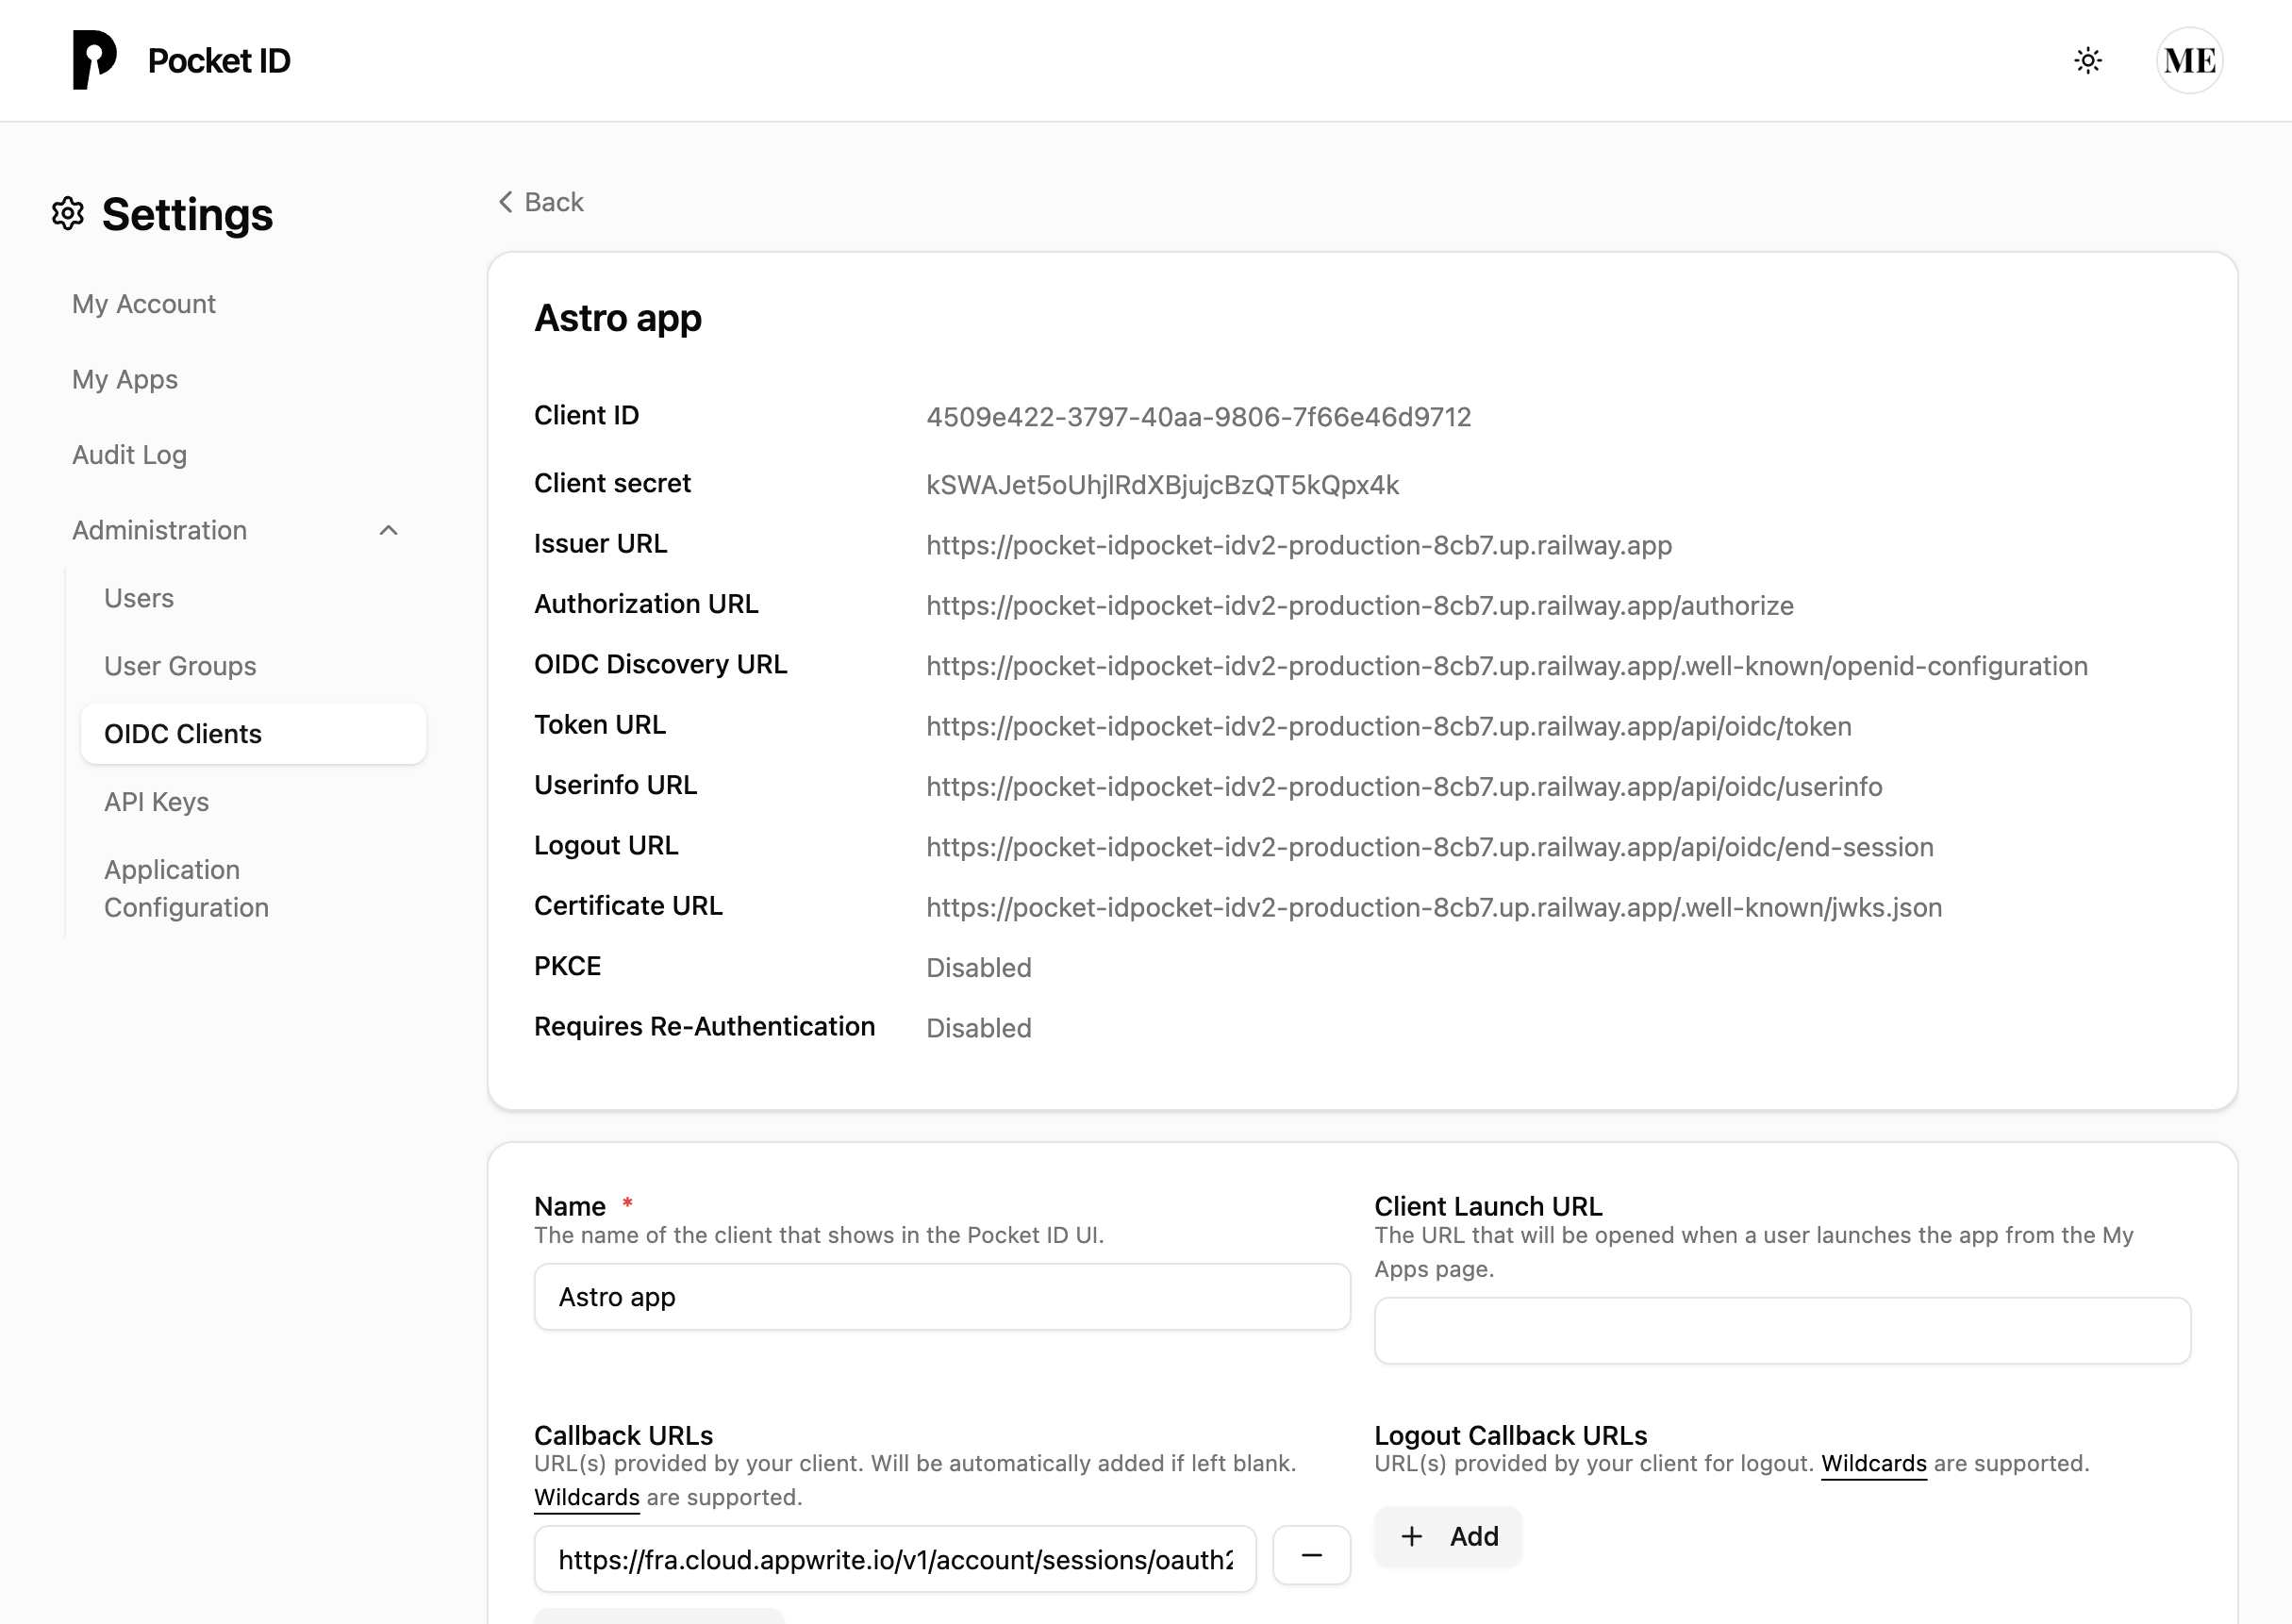
- Click Save and then open the newly created client. You may need to click Show more details to see the full credentials table. Copy the following three values:
- Client ID (e.g.,
4509e422-3797-40aa-9806-7f66e46d9712) - Client Secret (e.g.,
kSWAJet5oUhjlRdXBjujcBzQT5kQpx4k) - OIDC Discovery URL (e.g.,
https://pocket-id-production-8cb7.up.railway.app/.well-known/openid-configuration)
- Client ID (e.g.,
- Recommended: Scroll down to Allowed User Groups, expand the card, and click Unrestrict. Group restrictions are only useful when you share one Pocket ID instance across multiple tenants. For a single project, unrestricting keeps things simple.
Connect Pocket ID to Appwrite
Return to the Appwrite Console and open the OIDC provider modal (Project → Auth → Settings → OIDC). Fill in the fields:
- Enable the OIDC toggle.
- Client ID: paste the Client ID from Pocket ID.
- Well-known URL: paste the OIDC Discovery URL from Pocket ID.
- Client Secret: paste the Client Secret from Pocket ID.
- Click Update to save.
OIDC should now appear as Enabled and show at the top of your OAuth2 provider list in the Appwrite Console.
Build a demo web app
Now let’s wire everything together in a small frontend. We’ll use Astro because it’s minimal and ships zero JavaScript by default, making it easy to follow-along. The full source code is available at github.com/Meldiron/pocket-id-demo.
Create an Astro project
npm create astro@latest
When prompted:
- Directory:
./pocket-id-demo - Template: Minimal (empty)
- Install dependencies: Yes
- Initialize a Git repository: Yes
Then enter the directory and install the Appwrite Web SDK:
cd ./pocket-id-demo
npm install appwrite
Start the development server:
npm run dev
Build the sign-in page
Open src/pages/index.astro. We’ll add Launch CSS for minimal styling. Add the following <link> inside the <head>:
<link rel="stylesheet" href="https://unpkg.com/launch.css" />
Now replace the contents of <body> with a simple layout and a sign-in button:
<header>
    <nav>
        <a href="/">My Site</a>
        <menu>
            <li><a href="/">Home</a></li>
        </menu>
    </nav>
</header>
<main>
    <section>
        <button onclick="signIn()">Sign in with Pocket ID</button>
    </section>
</main>
Finally, add the Appwrite SDK script just before the closing </body> tag. Replace <PROJECT_API_ENDPOINT> and <PROJECT_ID> with the values from your Appwrite project’s API keys page:
<script>
    import { Client, Account } from "appwrite";

    const client = new Client()
        .setEndpoint("<PROJECT_API_ENDPOINT>")
        .setProject("<PROJECT_ID>");

    const account = new Account(client);

    window.signIn = function signIn() {
        const success = window.location.origin + "/dashboard";
        const failure = window.location.origin + "/";

        account.createOAuth2Session({
            provider: "oidc",
            success,
            failure,
        });
    };
</script>
The result should be a minimal sign-in page with a redirect to Pocket ID.
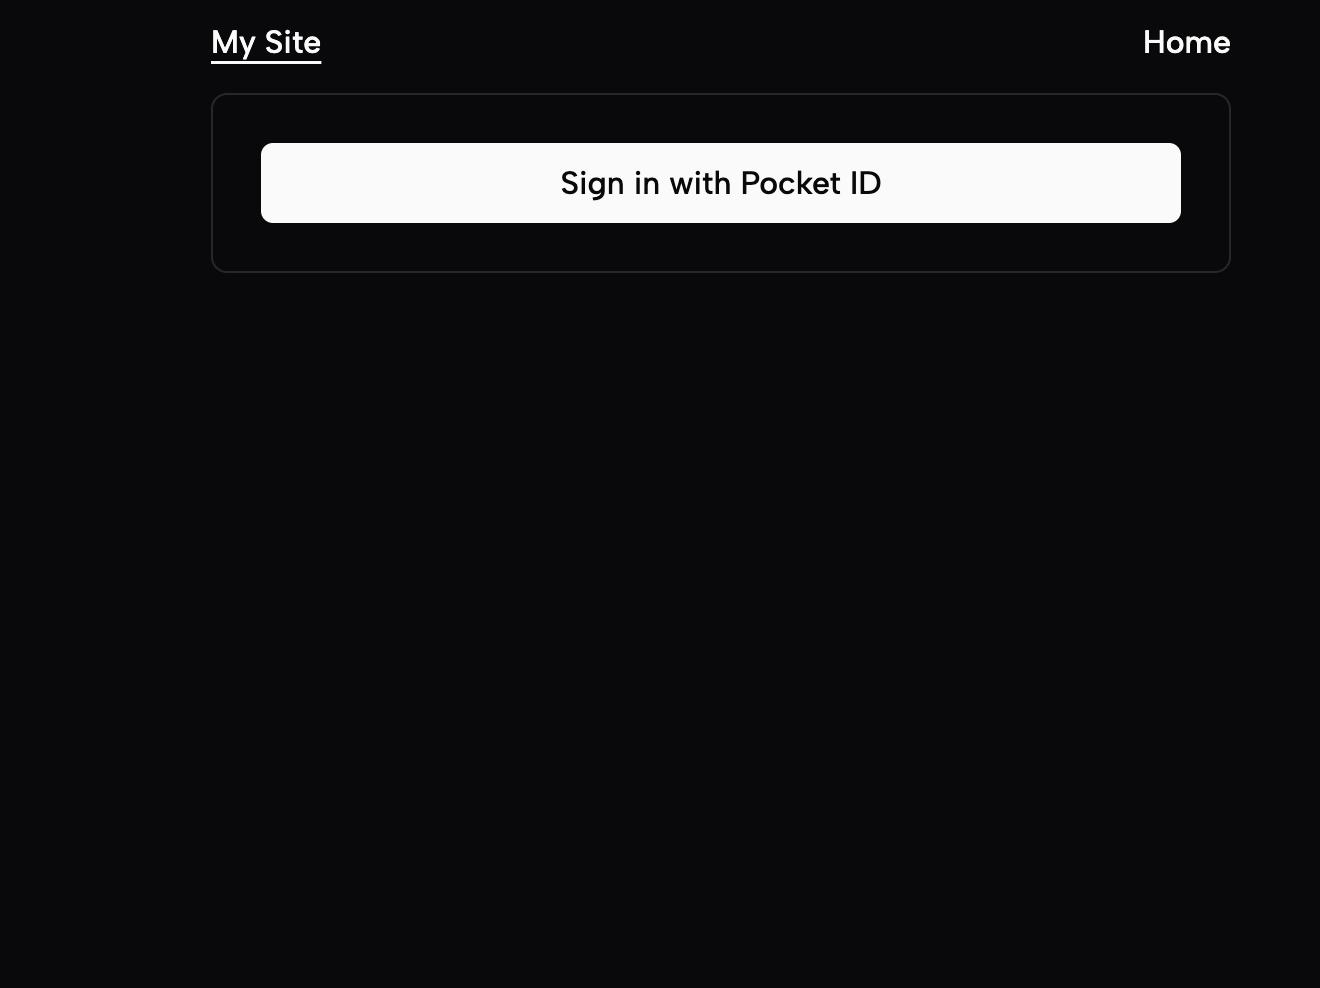
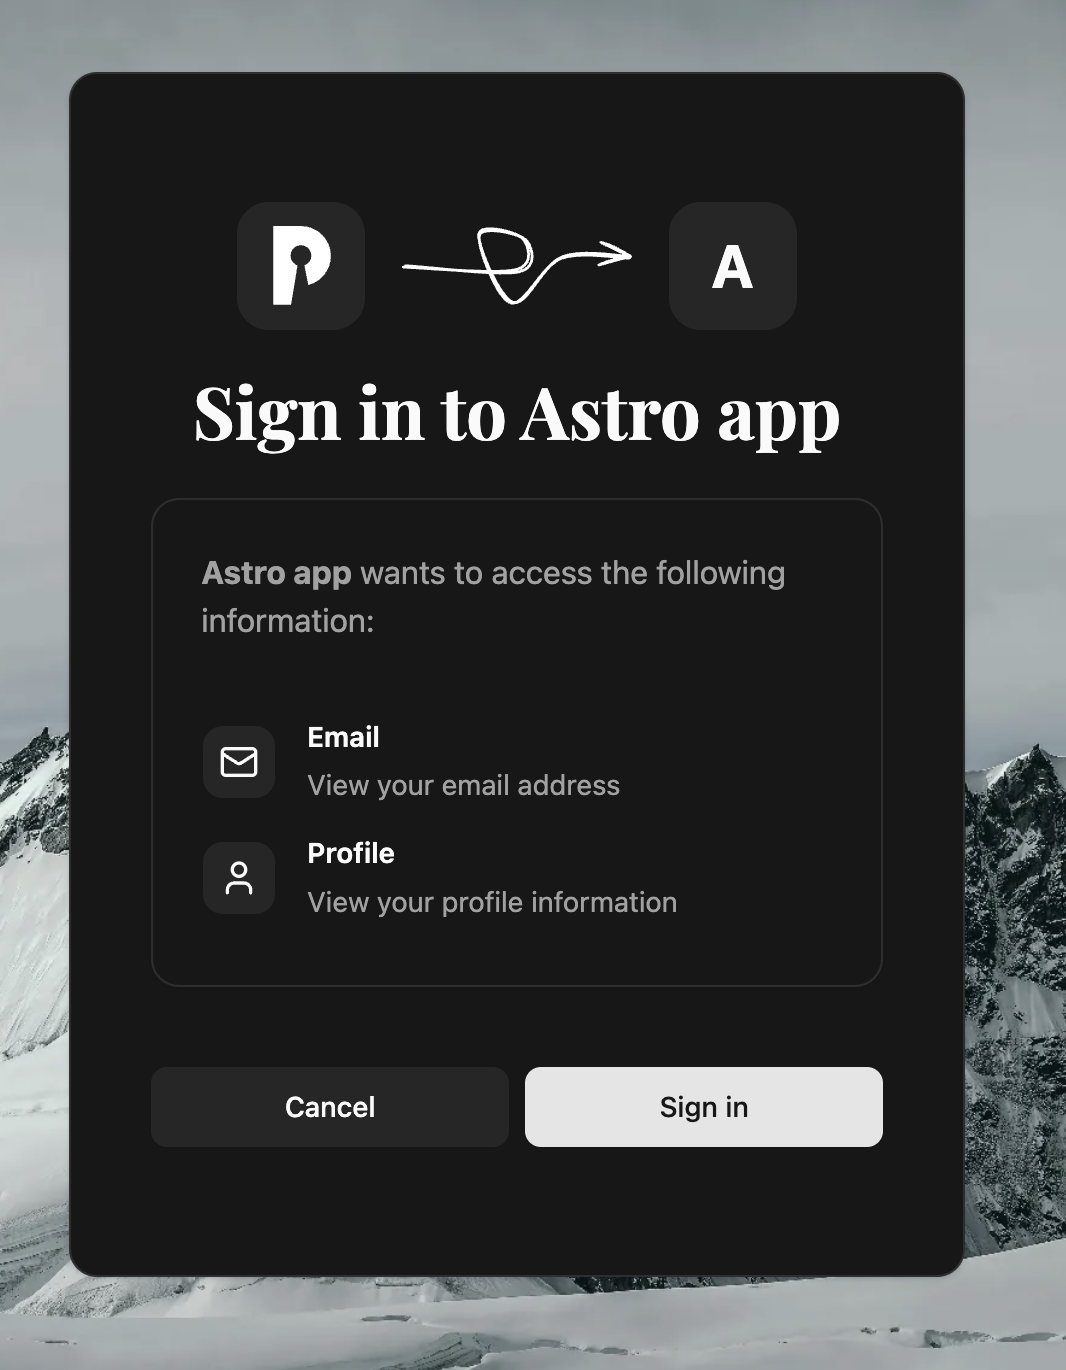
When a user clicks Sign in with Pocket ID, they’ll be redirected to your Pocket ID instance to authenticate with their passkey. After a successful login, Pocket ID redirects back to Appwrite, which creates a session and forwards the user to /dashboard.
Build the dashboard page
Create a new file at src/pages/dashboard.astro. Copy the same layout from index.astro, replacing the <button> with a welcome heading and a script that fetches the current user from Appwrite:
---
---
<!DOCTYPE html>
<html lang="en">
<head>
    <meta charset="UTF-8" />
    <meta name="viewport" content="width=device-width, initial-scale=1.0" />
    <title>Dashboard</title>
    <link rel="stylesheet" href="https://unpkg.com/launch.css" />
</head>
<body>
    <header>
        <nav>
            <a href="/">My Site</a>
            <menu>
                <li><a href="/">Home</a></li>
            </menu>
        </nav>
    </header>
    <main>
        <section>
            <h2 id="welcome-text">Loading...</h2>
        </section>
    </main>

    <script>
        import { Client, Account } from "appwrite";

        const client = new Client()
            .setEndpoint("<PROJECT_API_ENDPOINT>")
            .setProject("<PROJECT_ID>");

        const account = new Account(client);

        (async () => {
            try {
                const user = await account.get();
                document.getElementById("welcome-text").textContent =
                    `Welcome, ${user.name || user.email}! Your account ID is: ${user.$id}`;
            } catch {
                window.location.href = "/";
            }
        })();
    </script>
</body>
</html>
If the user isn’t authenticated, the script redirects them back to the home page. If they are authenticated, it displays their name and Appwrite account ID as proof that the full OIDC flow worked end to end.

Test it out
With your dev server running (npm run dev), open http://localhost:4321 in your browser. Click Sign in with Pocket ID and authenticate using your passkey. You should land on the dashboard page with your Appwrite account ID displayed.
Deploy to Appwrite Sites
The local demo works, now let’s put it on the internet. Appwrite Sites is a free hosting platform built into Appwrite that serves static sites from a global CDN, so your Astro app is a natural fit.
Push your project to GitHub
Before deploying, commit your project and push it to a GitHub repository:
git add .
git commit -m "Initial commit"
git remote add origin https://github.com/<your-username>/pocket-id-demo.git
git push -u origin main
Create a site in the Appwrite Console
- In your Appwrite project, click Sites in the left sidebar, then Create site.
- Select Connect a repository and authorize GitHub if prompted.
- Choose the
pocket-id-demorepository and setmainas the production branch. - Verify the build settings — Appwrite should auto-detect Astro:
- Install command:
npm install - Build command:
npm run build - Output directory:
./dist
- Install command:
- Click Deploy and watch the build logs.
Once the deployment turns green, click Visit site to open your live app. Your passkey authentication flow is now live and globally distributed — no separate hosting account required.
What you’ve built
Here’s the full picture of what’s happening when a user clicks sign in:
- Appwrite generates an authorization URL and redirects the user to Pocket ID.
- Pocket ID prompts the user to authenticate with their passkey (fingerprint, Face ID, or hardware key).
- Pocket ID sends an authorization code back to Appwrite’s redirect URI.
- Appwrite exchanges the code for tokens using the credentials you configured in the OIDC modal.
- Appwrite creates a user session and redirects the browser to your success URL (
/dashboard). - Your app calls
account.get()to retrieve the authenticated user’s details.
The passkey never leaves the user’s device. There are no passwords to steal, no phishing emails that can trick users into revealing credentials, and no credential database to protect on your server.
Next steps
You now have a working passkey-based authentication stack with full control over the identity server. A few things worth exploring next:
- User groups in Pocket ID: Restrict which users can access which OIDC clients by creating and assigning groups.
- Custom branding: Upload a logo and choose a color theme inside the Pocket ID OIDC client settings to match your product.
- Multiple apps, one Pocket ID: Register additional OIDC clients in Pocket ID to share a single identity provider across multiple projects.
- Appwrite Auth docs: Explore other authentication methods and session management features in the Appwrite Auth documentation.
- OIDC deep dive: Learn more about how the OpenID Connect protocol works in the Understanding OAuth and OpenID Connect article.
If you run into any issues or have questions, the Appwrite Discord community is a great place to get help.